原神
有很多玩家不知道原神以反抗之人的名義怎麼過去

1.首先,到箭頭所指的地方。

2.然後,開船去目的地。

3.接着,到箭頭所指的地方獲取情報。

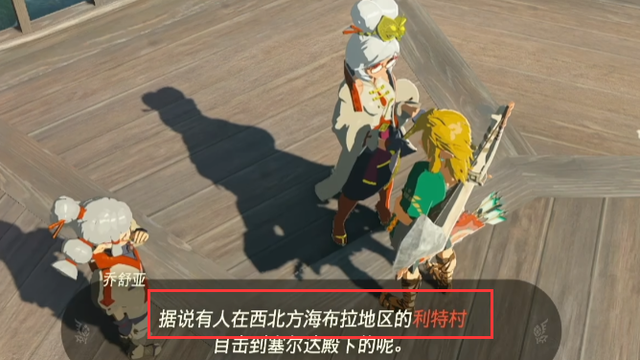
4.然後,到箭頭所指的那兩人獲取情報。

5.接着,去箭頭所指的地方。

6.然後,去和箭頭所指的地方和敵人戰鬥。

7.接着,和NPC進行對話。

8.然後,去反抗軍大本營。

9.接着,和五郎對話。


10.然後,和這個NPC對話。

11.接着,將鉤鉤果給他。

12.然後,和箭頭所指的NPC對話。

13.接着,完成這個挑戰。

14.然後,和敵人戰鬥。

15.接着,過劇情。

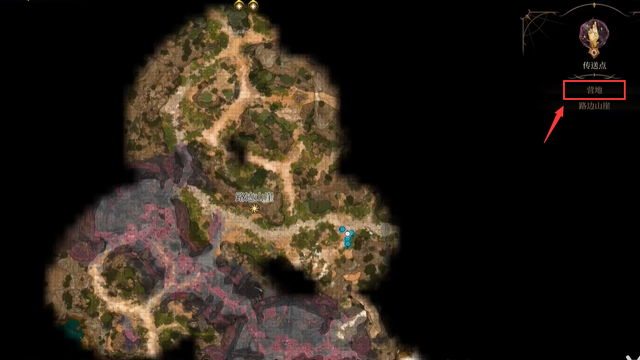
16.然後,在這裏獲得材料。

17.接着,到箭頭所指的地方補缺口。

18.然後,到箭頭所指的地方。

19.接着,過劇情。

20.然後,到箭頭所指的地方。

21.接着,到箭頭所指的地方觸發劇情。

22.然後,過劇情並戰鬥。


23.接着,過劇情。

24.最後,劇情過完後任務完成。

總結:以上就是原神以反抗之人的名義過關攻略,希望大家喜歡

更多相關攻略請關註:原神攻略專區
電玩幫圖文攻略 www.vgover.com